

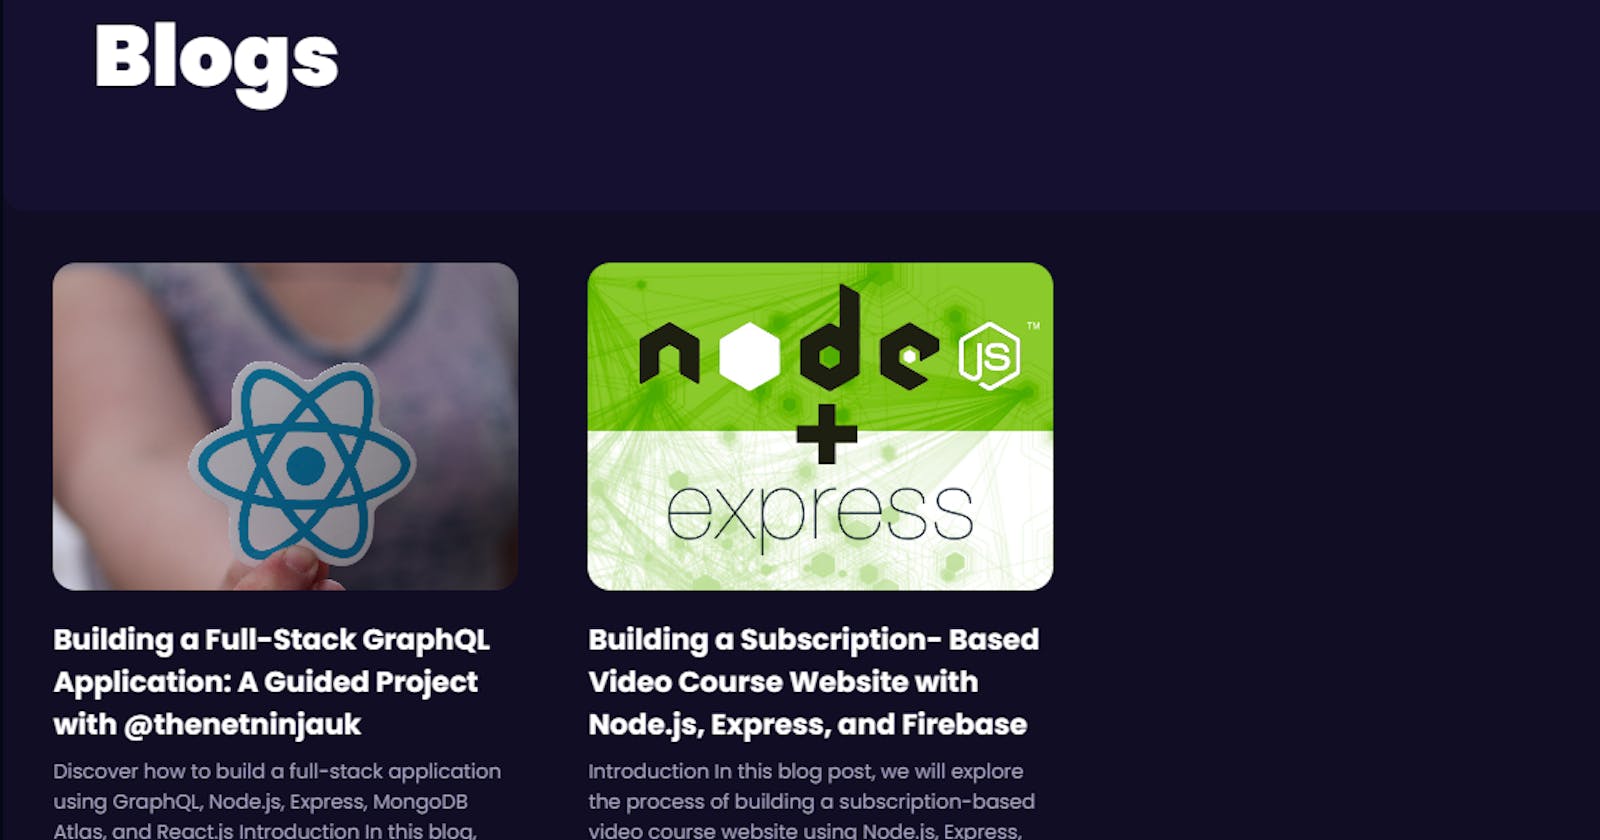
While I was building my personal portfolio website, I encountered the challenge of integrating my Hashnode blogs seamlessly into my website. I wanted a way to showcase my Blogs to the visitor. After some research, I stumbled upon the Hasnode API, which provided a solution for this. In this blog post, I aim to share my newfound knowledge and guide you through the process of adding your Hasnode blogs to your website using the Hasnode API. So, let's dive in and explore the steps to seamlessly integrate your blogs and enhance your online presence.
Hashnode provides a graphQL API to fetch blogs. You can use the api.hashnode.com site it's a GraphiQL interface-like site where you can test your API, below is an example of how you can fetch data using a GraphiQL interface
# use this code in https://api.hashnode.com/
# its a graphiql interface
# you can use own uesrname
{
  user(username: "NiranjanGkr") {
    publication {
      posts(page: 0) {
        _id
        title
        brief
        slug
        dateAdded
        coverImage
      }
    }
  }
}
Here I have fetched the following details "_id", "title", "brief", "slug", "dateAdded" and "coverImage".
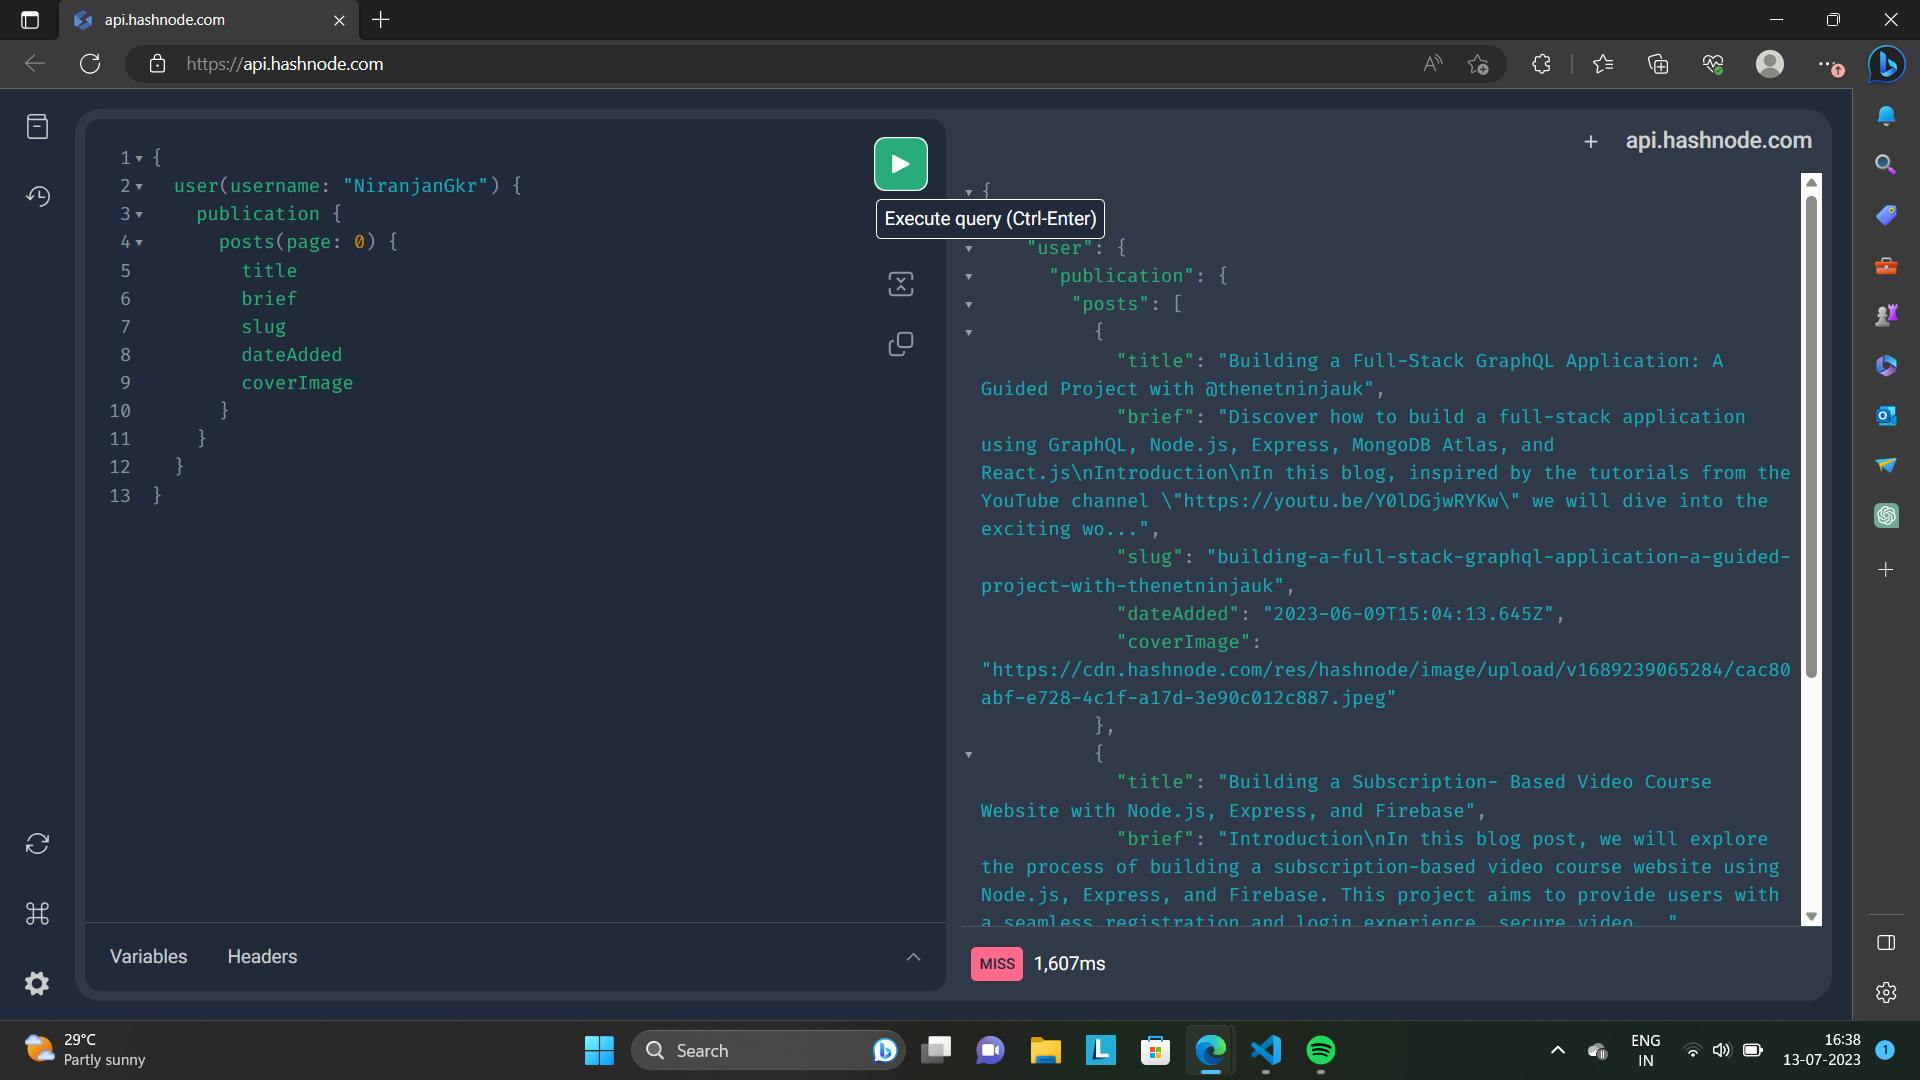
There are also other parameter you can use to fetch more details you can know about them here api.hashnode.com at docs section once you fetch these details you can nicely show your blog post on your frontend.
Fetching Blog Data from Hashnode API with JavaScript
Now we will explore how to fetch blog data from the Hashnode API using JavaScript. We will go through the steps of creating a GraphQL query, defining an API call function, and testing the API to retrieve the blog data. You can try it too in your react component.
Step 1: Creating the GraphQL Query
To retrieve blog data from the Hashnode API, we need to define a GraphQL query. Here's an example of a query to fetch blog posts for a specific user:
const GET_USER_BLOG = `
  query GetUserArticles($page: Int!) {
    user(username: "NiranjanGkr") {
      publication {
        posts(page: $page) {
          _id
          title
          brief
          slug
          dateAdded
          coverImage
          contentMarkdown
        }
      }
    }
  }
`;
In this query, we specify the desired fields such as title, brief, slug, dateAdded, coverImage, and contentMarkdown for the blog posts.
Step 2: Defining the API Call Function
Next, we define an asynchronous function that makes the API call using the fetch function. Here's the code for the gql function:
async function gql(query, variables = {}) {
  const data = await fetch("https://api.hashnode.com/", {
    method: 'POST',
    headers: {
      'content-type': 'application/json'
    },
    body: JSON.stringify({
      query,
      variables
    })
  });
  return data.json();
}
The gql function takes the GraphQL query and any variables as parameters. It sends a POST request to the Hashnode API with the query and variables in the request body, and then returns the parsed JSON response.
Step 3: Testing the API Call
To test the API call and fetch the blog data, we can use the gql function within a React component. Here's an example using the useEffect hook:
export const Blog = () => {
  const [BlogData, setBlogData] = useState();

  useEffect(() => {
    const fetchData = async () => {
      try {
        const response = await gql(GET_USER_BLOG, { page: 0 });
        console.log(response);
      } catch (error) {
        console.error(error);
      }
    };

    fetchData();
  }, []);

  // Render the rest of the component...
};
inside the useEffect hook, we define an async function fetchData that calls the gql function with the GET_USER_BLOG query and the desired page variable. We log the response to the console which you can check in the browser console. you'll get data something like this:

Step 4: Fetching All Blogs from Hashnode API
export const fetchBlogs = async () => {
  const articles = [];
  let page = 0;
  let allBlogFetched = false;

  while(!allBlogFetched){
    let response = await  gql(GET_USER_BLOG, { page: page })
    articles.push(...response.data.user.publication.posts);
    if ( response.data.user.publication.posts.length === 0){
      allBlogFetched = true;
    }
    page++;
  }
  return articles;
}
After testing the API and ensuring its functionality, we can now call it and store the retrieved data in an array. The code snippet provided showcases an asynchronous function called fetchBlogs that performs this task.
The function initializes variables, such as allBlogsFetched and page, to manage the loop and track the current page count. It also creates an empty articles array to store the fetched blog data.
Within the while loop, the function makes a call to the API using the gql function with the specified GraphQL query and the current page number. The response is then appended to the articles array using the spread operator.
The loop continues until the API response indicates that all blogs have been fetched, which occurs when the length of the received blog posts is zero. At this point, allBlogsFetched is set to true, and the loop is terminated.
Finally, the fetchBlogs function returns the articles array, containing all the blog data retrieved from all pages.
By implementing this code, you can easily fetch all blogs from the Hashnode API, regardless of the number of pages. Simply call the fetchBlogs function, and it will handle the pagination and data retrieval for you.
This approach enables you to efficiently collect and store blog data for further processing or display in your application.
Displaying the data on the browser
step 1: Initializing State and Fetching Blogs
In this step, we initialize the state variable Blogs using the useState hook and fetch the blogs from an API using the useEffect hook.
Initialize the state:
const [Blogs, setBlogs] = useState<any>([]);The
useStatehook is used to add state to functional components.Here, we initialize the
Blogsstate variable with an empty array[].The
<any>type annotation is used to indicate that theBlogsstate can hold values of any type.setBlogsis the function to update theBlogsstate.
Fetch blogs using the
useEffecthook:useEffect(() => { const getBlogs = async () => { const response = await fetchBlogs(); setBlogs(response); }; getBlogs(); }, []);The
useEffecthook is used to perform side effects in functional components.The callback function specified in
useEffectis executed after the initial render of the component.In this case, we define an asynchronous function
getBlogsinside theuseEffectcallback.Inside
getBlogs, we fetch the blogs using thefetchBlogsfunction (which is not provided in the code snippet).The fetched blogs are then passed to
setBlogsto update theBlogsstate.Since the dependency array (
[]) is empty, the effect runs only once during the initial render.
This step initializes the Blogs state as an empty array and fetch the blogs using the fetchBlogs function, updating the state with the fetched data. Once the Blog state is updated with the fetched data then in the Blog function we will pass the Blog to the BlogCard function and in that function will make use of the data which is received.
Here an example of it:
export const Blog = () => {
  const [ Blogs, setBlogs ] = useState([]);

  useEffect(()=> {
    const getBlog = async () =>{
      const response = await fetchBlogs();
      setBlogs(response);
    };
    getBlog();
  }, []);

// making the BlogCard
  const BlogCard = ({ data, index }) =>{
    return(
      // code...
    )
  }

  return (
    <div className='mt-12 bg-black-100 rounded-[20px]'>
      {/*some code*/}
      <div className={`${styles.paddingX} -mt-20 pb-14 flex flex-wrap gap-7 justify-center`}>
        {
          Blogs.map((blog, index) => {
            return <BlogCard key={blog._id} index={index} data={blog} />
          })
        }
      </div>
    </div>
  )
}
step 2: Make the BlogCard function to display the data received
In this step, we will create the BlogCard component, which will be responsible for rendering each individual blog on the webpage. The BlogCard component will display the cover image, title, brief description, and a "Read more" button that redirects users to the complete blog post.
Here's an example of the BlogCard component:
// making the BlogCard
const BlogCard = ({ data, index }) => {
  return (
     <div className="">
      <div className='w-full h-[230px] relative'>
        <img
          src={data.coverImage}
          alt={data.title}
          className='w-full h-full object-cover rounded-2xl'
        />
      </div>
      <div className='mt-5 max-w-md'>
        <h3 className='text-white font-bold sm:text-[20px] text-[17px]'>{data.title}</h3>
        <p className='mt-2 text-secondary sm:text-[14px] text-[12px]' >{data.brief }</p>
      </div>
      <button className='bg-tertiary  py-3 px-8 outline-none text-white font-bold w-fit shadow-md shadow-primary rounded-xl mt-3'><a href={`https://codewars.hashnode.dev//${data.slug}`} target='_blank'>Read more</a></button>
     </div>
  )
}
In the BlogCard component, we use the props data received from the Blog component. The data prop contains information about the blog, including the cover image URL, title, and brief description.
We start by displaying the cover image within a responsive container. The src attribute of the img tag is set to data.coverImage, and the alt attribute is set to data.title. This ensures that the cover image is accessible and provides alternative text for screen readers.
Next, we display the blog title and brief description using appropriate typography styles. The title is rendered as a bold heading, while the brief is displayed as a smaller text below the title.
Lastly, we include a "Read more" button wrapped in an anchor tag. The href attribute is set to the URL of the complete blog post using the data.slug value. The target="_blank" attribute opens the blog post in a new browser tab.
The BlogCard component is styled using Tailwind CSS, a utility-first CSS framework that allows for rapid development and easy customization of styles.
By implementing the BlogCard component, we can iterate over the fetched blogs in the Blog component's return statement and render each blog as a BlogCard component. This enables us to display the cover image, title, brief description, and a link to read the complete blog post for each blog entry.
Step 3: Implementing Swiper Slider for Responsive Blog Display
In this step, we will enhance the user experience by implementing the Swiper Slider library to display the blog content in a visually appealing and responsive manner. The Swiper Slider allows us to showcase multiple blog cards in a sliding format, ensuring an optimal viewing experience on various screen sizes.
To implement the Swiper Slider, we need to install the necessary Swiper modules and configure the slider component.
First, ensure that you have installed the Swiper library and imported the required modules, such as Navigation, Pagination, Scrollbar, and A11y.
Next, include the following code within the Blog component's return statement:
 <Swiper
      modules={[Navigation, Pagination, Scrollbar, A11y]}
      spaceBetween={50}
      slidesPerView={1}
      navigation
      pagination={{ clickable: true }}
      scrollbar={{ draggable: true }}
      onSlideChange={() => console.log('slide change')}
      onSwiper={(swiper) => console.log(swiper)}
      className='m-9 pb-8'
      breakpoints={{
        769: {
          slidesPerView: 3,
          // slidesPerGroup: 2,
        },
      }}
    >
       <div className={`${styles.paddingX} -mt-20 pb-14 flex flex-wrap gap-7`}>
        {
          Blogs.map((blog, index) => {
            return <SwiperSlide><BlogCard key={blog._id} index={index} data={blog} /></SwiperSlide>
          })
        }
      </div>
    </Swiper>
Let's understand the key aspects of this code:
The
Swipercomponent is the container for the slider. We pass the required Swiper modules as themodulesprop.Configuration options such as
spaceBetween,slidesPerView,navigation,pagination, andscrollbarcontrol the appearance and functionality of the slider. Customize these options according to your design preferences.The
onSlideChangeandonSwiperprops allow you to define functions that trigger on slide change and provide access to the Swiper instance.The
classNameprop adds styling classes to the Swiper component.The
breakpointsprop defines responsive behavior for different screen sizes. In the provided example, when the viewport width is equal to or greater than 769 pixels, theslidesPerViewis set to 3, allowing three blog cards to be visible simultaneously.Inside the
Swipercomponent, we wrap theBlogs.mapfunction with theSwiperSlidecomponent. This ensures that eachBlogCardcomponent is wrapped within a slide.
By utilizing the Swiper Slider library, we enhance the presentation of blog content by displaying multiple blog cards in a responsive and interactive manner. Users can navigate through the blogs using navigation arrows, pagination, or scrolling functionality provided by the Swiper Slider.
Conclusion
We hope this guide on integrating Hashnode blogs into your website using the Hashnode API has been helpful to you. By seamlessly displaying your blogs and enhancing your online presence, you can captivate your audience with engaging content. If you found this blog post useful, don't forget to share and like it. Happy Coding !